



Artikel: Moisturizer application guide: expert technique for every skin type
Moisturizer application guide: expert technique for every skin type
The best way to apply moisturiser is immediately after cleansing on slightly damp skin, using the right amount and technique for your face or body. Get this right, and your moisturiser does far more than sit on the surface. It actively locks in hydration, supports your skin barrier, and primes your complexion for whatever comes next in your routine.
Table of Contents
- How to apply moisturiser correctly for optimal hydration
- Step-by-step guide to moisturising your face effectively
- How to moisturise your body: tips and best practices
- How to choose the right moisturiser for your skin type
- Common expert tips and cautions for moisturiser application
- Expert insights from Them-ethod on advanced moisturising techniques
- Key takeaways
How to apply moisturiser correctly for optimal hydration
The single most important rule in any moisturiser application guide is timing. Board-certified dermatologists recommend applying within about 60 seconds of cleansing, before moisture from your rinse has a chance to evaporate. Waiting longer means your skin starts drawing water from its own deeper layers to compensate, which is the opposite of what you want.
Quantity matters just as much as timing. A dime-sized amount covers the face adequately, while the neck and décolletage each need roughly a quarter-sized amount for full coverage. Using too little leaves patches of skin unprotected; using too much risks congestion, particularly around the nose and chin.
Technique varies by product texture:
- Gels and water-based formulas: apply with circular motions across the face to encourage even absorption without dragging.
- Creams: use gentle patting motions combined with upward strokes, working from the centre of the face outward.
- Ointments: press lightly into the skin rather than rubbing, as these thicker formulas need warmth from your fingertips to spread evenly.
Never rub harshly. Excessive pressure can compromise your skin barrier, trigger inflammation, and, over time, contribute to the breakdown of collagen fibres.
Pro Tip: Warm a small amount of moisturiser between your fingertips for five seconds before applying. The gentle heat softens the formula and helps it absorb more readily, particularly with richer creams.
Step-by-step guide to moisturising your face effectively
A reliable facial moisturiser guide starts before you even open the jar. Your skin’s condition at the moment of application determines how well the product performs.
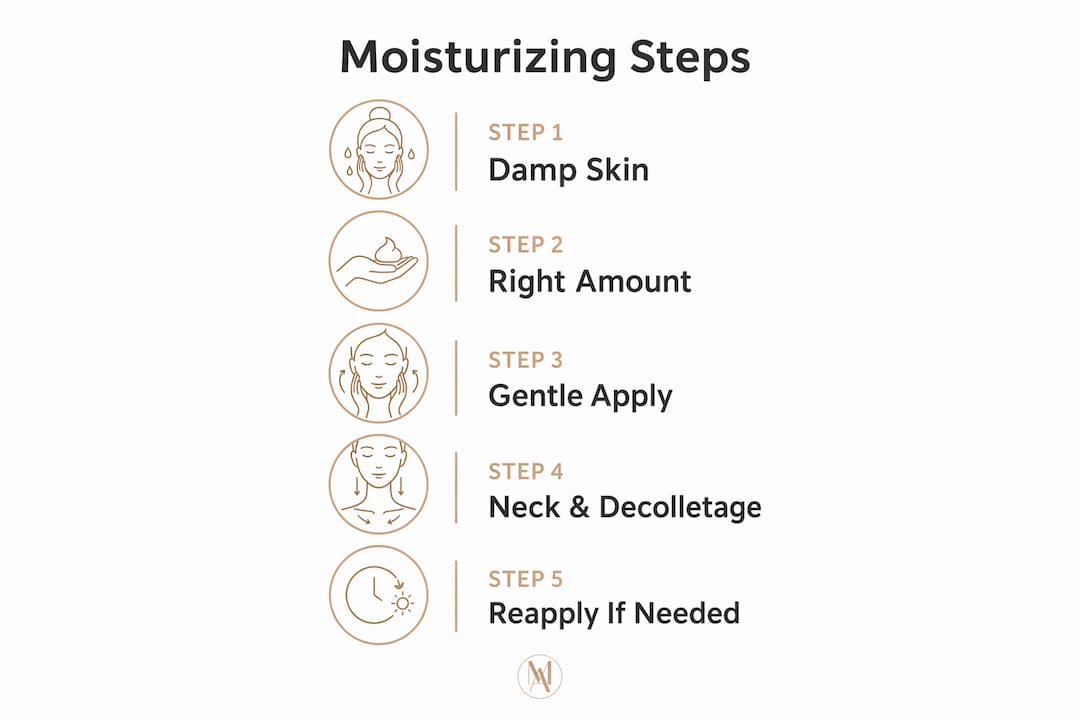
Step 1: Start with clean, slightly damp skin
Pat your face with a clean towel after cleansing, leaving a subtle dampness rather than drying completely. Skin that is too wet causes the product to slide or dilute, reducing its effectiveness. Subtle dampness is the sweet spot.
Step 2: Dispense the right amount
Use a small amount for lighter gel formulas, increasing as needed for creams and coverage areas like the neck and décolletage.
Step 3: Apply with intention
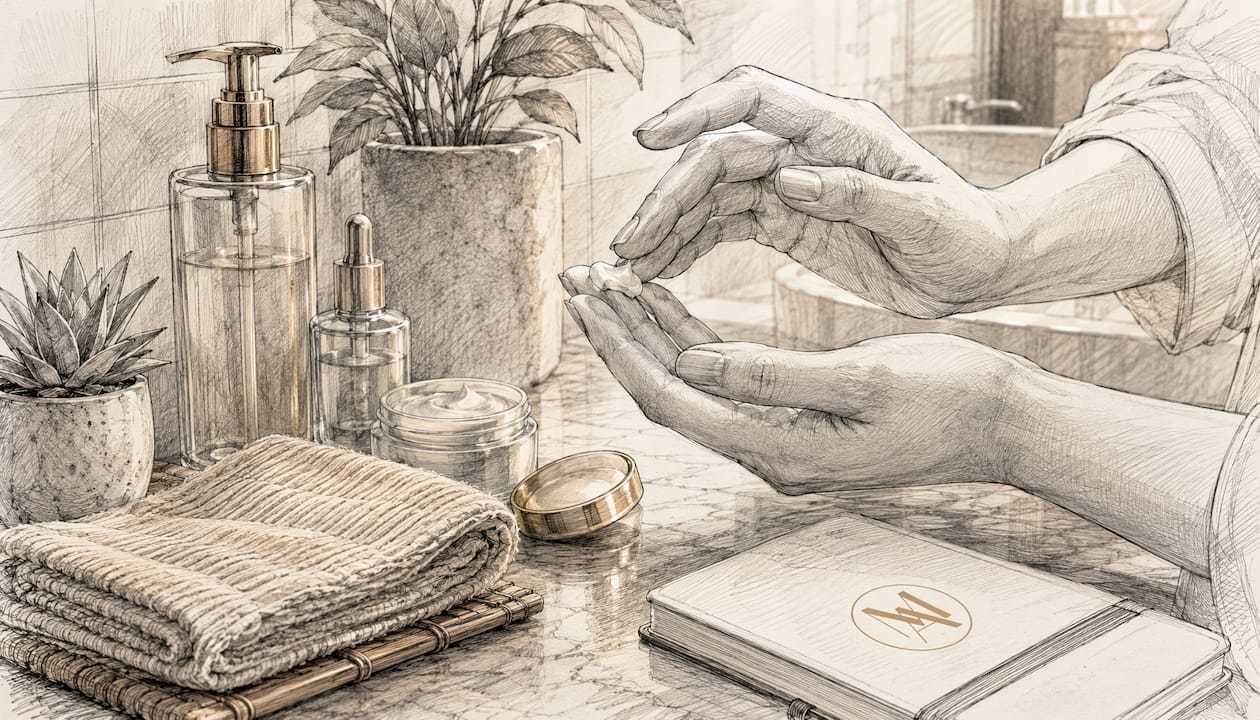
Dot the moisturiser across your forehead, cheeks, nose, and chin, then blend outward using upward, outward motions. This technique works with your skin’s natural structure rather than pulling it downward. Around the eye area, use your ring finger only, tapping very gently to avoid stretching delicate skin.
Step 4: Extend to the neck and décolletage
Most people stop at the jawline. The neck and chest are among the first areas to show signs of ageing, and they deserve the same attention as your face.
Step 5: Layer correctly
- Apply toner or essence first, then serum, then moisturiser.
- If you use an SPF, it goes on after moisturiser in the morning.
- At night, moisturiser is typically the final step unless you use a facial oil, which seals everything in on top.
Reapplication: dry or sensitive skin may benefit from a light midday top-up, especially in air-conditioned environments or during cold weather. Dermatologists note that reapplication during the day can be particularly helpful for those managing inflammatory conditions such as eczema.
Pro Tip: If you find your moisturiser pills or rolls up when you apply SPF on top, wait a short period between layers. This gives each product time to partially set before the next one goes on.
How to moisturise your body: tips and best practices
Body moisturising follows the same core logic as facial care, but the scale and texture choices differ considerably. The most effective window is immediately after bathing, while skin retains a light dampness from the shower.
Key practices for body application:
- Pat dry, do not rub: use a clean towel to absorb excess water gently, leaving skin slightly damp before applying product.
- Use a suitable amount per area: work in sections (arms, legs, torso) rather than trying to cover everything with one large handful.
- Focus on neglected zones: elbows, knees, heels, and the backs of the hands lose moisture faster than other areas and benefit from slightly more product or a richer formula.
- Massage gently: circular or sweeping motions help absorption and support circulation without the harsh rubbing that disrupts the skin barrier.
- Reaching the back: applying lotion to the inner forearms first, then pressing them against the back, is a practical technique recommended by dermatologists for those who find the area difficult to reach.
Seasonal adjustment is worth building into your daily moisturiser routine. Body skin benefits from different moisturiser textures across seasons, with lighter lotions working well in warmer months and richer creams providing the deeper barrier support needed in winter. If you have very dry skin, a thicker cream or ointment will outperform a lotion year-round, as richer formulas prevent transepidermal water loss more effectively.

How to choose the right moisturiser for your skin type
Selecting the right product is where a good routine becomes a great one. The format, ingredients, and label details all affect how your skin responds.
Formats and who they suit
- Lotions: lightweight and fast-absorbing, suited to normal or combination skin. Less effective for dry skin as a standalone treatment.
- Creams: thicker and more occlusive, ideal for dry or mature skin. They sit in the middle ground between lotions and ointments.
- Gels: water-based and non-greasy, the preferred choice for oily or acne-prone skin. They hydrate without adding weight.
- Ointments: the richest option, best reserved for very dry, cracked, or compromised skin. They form a physical barrier that locks in moisture effectively.
Ingredients to look for
- Hyaluronic acid: draws water into the skin from the environment and deeper layers, making it effective across all skin types.
- Glycerin: a humectant that attracts and retains moisture, gentle enough for sensitive skin.
- Ceramides: lipid molecules that reinforce the skin barrier, particularly valuable for dry and eczema-prone skin.
- Plant oils (such as jojoba or squalane): provide emollient softening and are well tolerated by most skin types.
Fragrance and sensitive skin are important considerations when selecting moisturizers, and understanding fragrance considerations relevant to choosing moisturizers for sensitive skin can help you make safer choices.
Fragrance-free formulas are the safer choice for sensitive or reactive skin. “Unscented” does not mean the same thing: products labelled unscented sometimes contain masking chemicals that can still cause irritation. Dermatologists advise reading ingredient lists carefully and looking for the explicit “fragrance-free” claim on the packaging.
Products we recommend
The NEOSTRATA Ultra Moisturizing Face Cream is a clinically backed option that combines polyhydroxy acids with deep hydration, making it particularly well suited to dry and sensitive skin that needs both moisture and gentle exfoliation. For those who prefer a lighter daily formula, the NEOSTRATA PHA Daily Moisturizer offers a non-greasy texture that works well under SPF and suits combination skin types. Both are available through Them-ethod’s curated NEOSTRATA collection.
Pro Tip: If you are unsure which format suits your skin, start with a cream. It covers the widest range of skin types and is easier to adjust from than an ointment, which can feel too heavy for some.
Common expert tips and cautions for moisturiser application
Even a well-chosen product underperforms when applied incorrectly. These are the pitfalls dermatologists flag most often, and the fixes are straightforward.
Do not delay after cleansing
Waiting more than a minute or two after washing your face allows surface moisture to evaporate rapidly. Apply your moisturiser within that 60-second window to trap hydration before it escapes.
Avoid over-applying
More product does not mean more hydration. Excess moisturiser sits on the surface, can block pores, and leaves skin feeling greasy. If you have applied too much, remove the excess gently with a clean, damp cloth rather than washing your face again, which would strip the hydration you have just applied.
Use upward motions deliberately
Applying with upward and outward strokes is more than a technique preference. It works against gravity’s pull on facial tissue and supports a subtle lifting effect over time.
The sandwich method for retinol users
Retinol is one of the most clinically supported anti-ageing actives available, but it can cause dryness and irritation, particularly when you are building tolerance. The sandwich method involves applying a thin layer of moisturiser first, then your retinol, then another light layer of moisturiser on top. This buffers the retinol’s contact with the skin barrier without blocking its activity entirely.
Pro Tip: Apply moisturiser to the back of your hand first, not directly to your face. This lets you assess the texture and temperature of the product before it touches more sensitive facial skin, and it gives you better control over the amount you dispense.
Expert insights from Them-ethod on advanced moisturising techniques
Getting the fundamentals right takes you a long way. But for those who want to go further, a few professional-level adjustments can meaningfully improve results.
The dampness question
Skin that is too wet when you apply moisturiser causes the formula to dilute and slide rather than absorb. Skin that is completely dry has already lost the surface moisture you are trying to lock in. The ideal state is a subtle dampness, achieved by patting with a clean towel for a few seconds rather than air-drying or rubbing vigorously. This applies equally to the face and body.
Layering actives safely
Moisturiser does not always go on last. When you are using actives like vitamin C, niacinamide, or retinol, the order matters for both efficacy and tolerance. As a general principle, apply products from thinnest to thickest consistency, with water-based serums before moisturiser and facial oils after. For a deeper look at building a hydration-focused routine, Them-ethod’s clinical team has outlined the sequencing logic in detail.
Advanced anti-ageing hydration
For those managing visible signs of ageing alongside hydration needs, the Obagi ELASTIderm Facial Moisturiser represents a clinically advanced option. It is formulated with Obagi’s proprietary bi-mineral complex technology, targeting elastin production to improve skin firmness and resilience alongside deep hydration. As a UK-based Obagi Ambassador Clinic, Them-ethod’s team can advise on whether this level of formulation is appropriate for your skin’s current needs.
Tools for hard-to-reach areas
Reaching the back for body moisturising is a genuine practical challenge. Dermatologists suggest applying lotion to the inner forearms and then pressing them against the back, or using a long-handled body applicator to distribute product evenly. These approaches are more effective than contorting to reach the area with your hands, and they reduce the risk of uneven application.
Pro Tip: When layering a moisturiser over a serum containing hyaluronic acid, apply the serum to damp skin first, then seal it immediately with your moisturiser. Hyaluronic acid draws moisture from its environment, so trapping surface water underneath your cream amplifies its hydrating effect considerably.
Key takeaways
Applying moisturiser within 60 seconds of cleansing on slightly damp skin, using the correct amount and technique for your skin type, is the single most effective step you can take to maximise hydration and protect your skin barrier.
| Point | Details |
|---|---|
| Timing is critical | Apply within 60 seconds of cleansing to lock in moisture before evaporation begins. |
| Quantity by area | Use a dime-sized amount for the face and a quarter-sized amount for the neck and décolletage. |
| Technique by texture | Gels suit circular motions; creams work best with gentle patting and upward, outward strokes. |
| Match product to skin type | Richer creams and ointments suit dry skin; gels work best for oily or acne-prone skin. |
| Retinol users: sandwich method | Apply moisturiser before and after retinol to buffer irritation and protect the skin barrier. |