



How to assess skin conditions: a practical guide
TL;DR:
- Regular self-examinations help identify skin changes early by using structured criteria like ABCDEFGH and the Rule of Three. Documenting observations with photos and notes enhances accuracy and facilitates professional assessment when needed. Combining self-care routines with clinical tools ensures personalized treatment and better skin health management.
Skin condition assessment is a systematic process involving regular self-examination, recognised clinical criteria, and quality-of-life evaluation to identify and monitor skin health accurately. Whether you are managing acne, rosacea, signs of ageing, or an unexplained rash, knowing how to assess skin conditions gives you a clear starting point. Clinicians use structured frameworks such as the ABCDEFGH criteria and the Dermatology Life Quality Index (DLQI) to evaluate skin health beyond surface appearance. You can apply the same principles at home to track changes, document concerns, and make better decisions about when to seek professional advice.
How to assess skin conditions: preparing for your self-examination
A thorough skin self-examination starts with the right setting. Examine your skin after bathing, when the skin is clean and free of products. Choose a well-lit room, ideally with natural or bright white light, and stand in front of a full-length mirror.
The tools you need are simple but specific:
- A full-length mirror for front and back views
- A handheld mirror for hard-to-reach areas such as the scalp, ears, and back of the neck
- A camera or smartphone to photograph any areas of concern
- A notepad or notes app to record observations, including dates
Monthly self-examinations are the recommended frequency for most people. Once you are familiar with your skin, a full check takes 5–10 minutes. That is a small investment for the confidence it builds over time.
Work through your body methodically, from head to toe. Cover the scalp, face, neck, chest, abdomen, back, arms, hands, legs, and feet, including the soles and between the toes. These hidden areas are easy to miss and are often where changes go unnoticed the longest.
Pro Tip: Ask a trusted partner to examine areas you cannot see clearly, such as the back of the scalp and upper back. Consistent coverage matters more than speed.
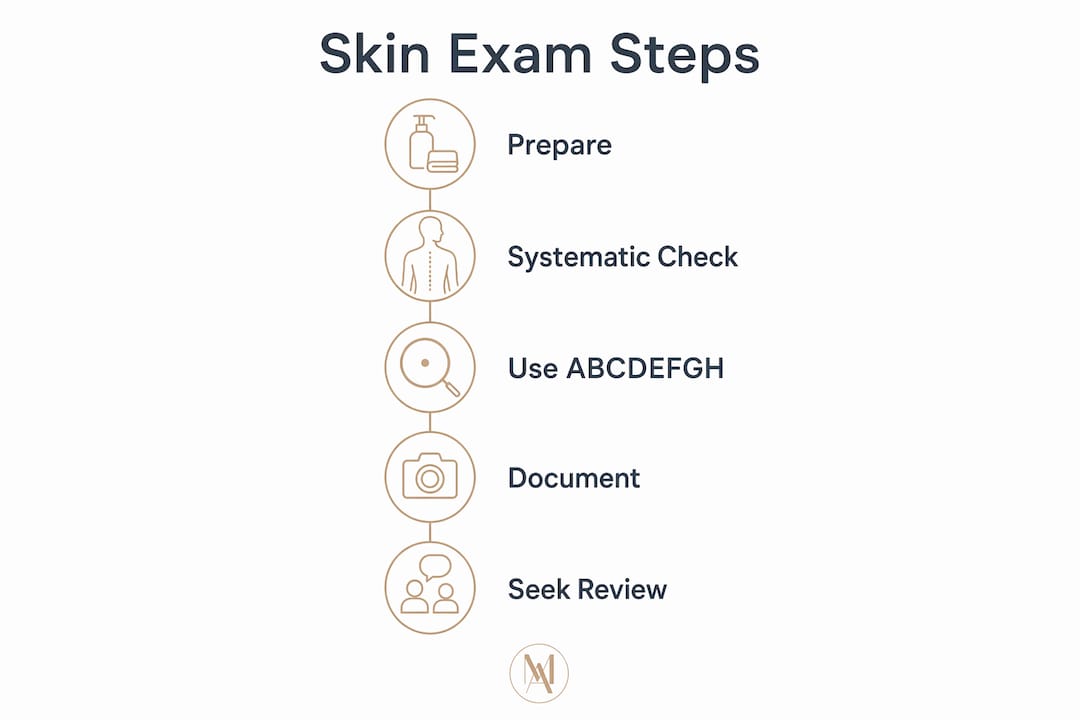
What is the step-by-step method for examining your skin?
Once you are set up, follow a structured approach to evaluate each area. Rushing through a check reduces its value. Slow, methodical inspection is what makes the difference between noticing a change and missing it entirely.
Inspect each body region in order
Work through these regions systematically:
- Scalp and hair: Part the hair in sections using a comb. Look for scaly patches, redness, or unusual growths.
- Face: Examine the forehead, nose, cheeks, chin, and lips. Note any persistent redness, papules, or pigmentation changes.
- Neck and ears: Check behind the ears and along the jawline. These areas receive significant sun exposure and are frequently overlooked.
- Chest and abdomen: Inspect the full torso, including under the breasts and around the navel.
- Back: Use a handheld mirror against a wall mirror to view the full back and shoulders.
- Arms and hands: Examine the forearms, elbows, palms, and the skin between fingers.
- Legs and feet: Check the thighs, knees, shins, and the soles of the feet.
Apply the ABCDEFGH criteria to suspicious lesions
The ABCDEFGH criteria give you a structured way to evaluate any lesion that catches your attention:
| Criterion | What to look for |
|---|---|
| A Asymmetry | One half does not match the other |
| B Border | Edges are irregular, ragged, or blurred |
| C Colour | Multiple shades of brown, black, red, or white |
| D Diameter | Larger than 6mm (roughly the size of a pencil eraser) |
| E Evolving | Any change in size, shape, colour, or new symptoms |
| F–H Additional | Firmness, funny-looking compared to others, history of change |
A lesion that meets one or more of these criteria warrants closer attention and professional review.
Use the Rule of Three to describe what you see
The Rule of Three is a clinical framework used by dermatologists to describe lesions accurately before reaching any conclusion. It covers three elements: the primary lesion type (such as a papule, macule, or plaque), any secondary surface changes (such as scaling, crusting, or ulceration), and the colour. Applying this framework when writing your notes helps you communicate clearly with a clinician and avoids the trap of premature labelling.
Pro Tip: Take a photograph of any lesion you are monitoring and place a ruler or coin next to it for scale. Timestamped photos are one of the most useful tools for tracking change over time.
How do you interpret your findings and avoid common mistakes?
Observing your skin is only half the process. Interpreting what you see accurately is where most people encounter difficulty. The most common error is assigning a diagnosis too quickly, before completing a full assessment.
Skin health reflects systemic health. Tactile and temperature assessments add important information that visual inspection alone cannot provide. Running the back of your hand over an area of redness tells you whether it is warm, which suggests active inflammation or infection. Gently pinching the skin and observing how quickly it returns to normal (skin turgor) gives a rough indication of hydration levels.
Common mistakes to avoid when evaluating skin issues:
- Mislabelling erythema: Not all redness is rosacea. Erythema can result from contact dermatitis, heat, or physical irritation.
- Ignoring systemic signs: Fatigue, joint pain, or fever alongside a skin change may point to a systemic condition requiring medical assessment.
- Dismissing persistent lesions: A lesion that has not resolved within 4–6 weeks or is changing rapidly is a clinical red flag. Seek professional evaluation promptly.
- Over-relying on appearance alone: Texture, warmth, and tenderness are equally important diagnostic cues.
Delayed referrals often result from patients misreading lesion changes or reaching a premature conclusion. Describing what you observe rather than what you think it is gives a clinician far more useful information.
“The Dermatology Life Quality Index (DLQI) is a validated tool that measures how a skin condition affects physical comfort, emotional wellbeing, and social life. Recommended by NICE (2016) alongside clinical investigation, it ensures that treatment decisions account for the full impact of a condition, not just its appearance.”
The DLQI is worth completing before a consultation. It takes under two minutes and gives your clinician a structured picture of how your skin concern is affecting your daily life.
What professional tools are used in dermatological assessment?
Self-assessment has clear limits. When your observations raise concerns, professional dermatological assessment uses a range of tools that go well beyond what is visible to the naked eye.
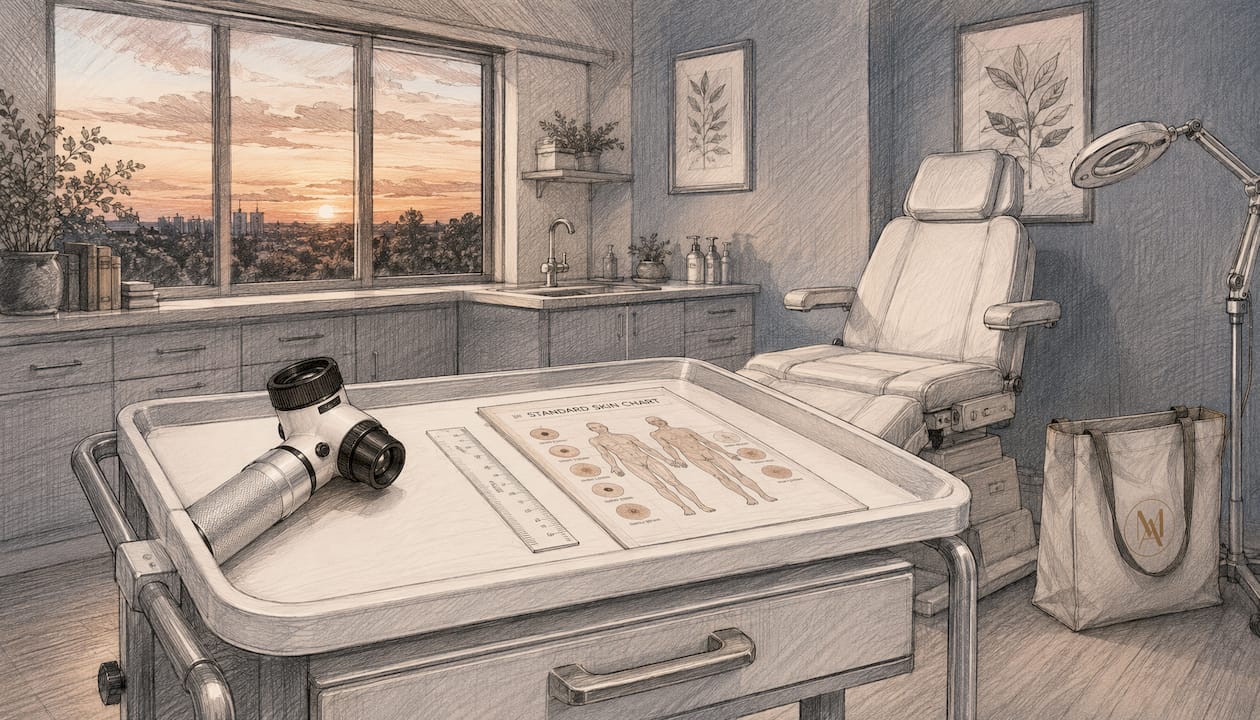
Dermatoscopy is one of the most widely used non-invasive techniques. It uses magnification and polarised light to reveal pigment networks, vascular patterns, and structural features within a lesion that are invisible without magnification. This distinction between benign and potentially malignant lesions is critical for early intervention.
| Assessment tool | Purpose | When it is used |
|---|---|---|
| Dermatoscopy | Magnified lesion analysis | Suspicious moles, pigmented lesions |
| Skin biopsy | Tissue sampling for histology | Persistent or undiagnosed lesions |
| Microbiological testing | Identify bacterial or fungal infection | Infected or weeping skin |
| Blood tests | Detect systemic causes | Autoimmune or inflammatory conditions |
| AI-assisted imaging | Pattern recognition support | Screening and monitoring programmes |
Clinicians combine your documented observations, timestamped photographs, lesion descriptions using the Rule of Three, and your DLQI score to build a complete picture before reaching a diagnosis. This is why the preparation you do at home genuinely matters. A well-prepared skin consultation shortens the diagnostic process and leads to more targeted treatment.
Treatments are then tailored based on this comprehensive assessment. Someone with acne and a high DLQI score affecting their confidence and social life may need a different approach to someone with the same clinical presentation but minimal quality-of-life impact. Personalised treatment is only possible when the full picture is clear.
Pro Tip: Before your appointment, review your step-by-step skin analysis notes and bring timestamped photographs. Clinicians consistently report that documented observations lead to faster, more accurate assessments.
Key takeaways
Accurate skin condition assessment requires combining systematic self-examination, clinical criteria such as ABCDEFGH and the Rule of Three, and quality-of-life evaluation before seeking professional diagnosis.
| Point | Details |
|---|---|
| Examine monthly | A monthly head-to-toe check, taking 5–10 minutes, is the recommended standard for skin monitoring. |
| Use ABCDEFGH criteria | Apply this checklist to any suspicious lesion, paying particular attention to diameter over 6mm and evolving changes. |
| Describe before diagnosing | Use the Rule of Three to record primary lesion, secondary changes, and colour before drawing any conclusion. |
| Seek help for persistent lesions | Any lesion unchanged or worsening after 4–6 weeks requires professional evaluation, supported by timestamped photos. |
| Include quality-of-life impact | Complete a DLQI assessment before your consultation to give clinicians a full picture of how your skin affects daily life. |
Why self-assessment changed how I think about skin health
Most people I speak with assume that skin assessment is something only a dermatologist can do meaningfully. I used to think the same. What changed my perspective was seeing how consistently patients who arrived with documented observations, photographs, and a clear description of how their skin had changed over time received faster, more targeted diagnoses.
The uncomfortable truth is that appearance alone is a poor guide. I have seen cases where a visually unremarkable patch turned out to be clinically significant, and dramatic-looking redness that resolved with a simple barrier repair. Tactile cues, temperature, and the patient’s own account of how a lesion has evolved over weeks are often more telling than what the eye catches in a single appointment.
What I encourage is this: treat your monthly skin check as a clinical habit, not a cosmetic one. Write down what you see using the Rule of Three. Note whether anything feels warm, raised, or tender. Complete a DLQI before any consultation so your clinician understands the full impact, not just the surface presentation. And trust your instincts. If something has changed and you cannot explain why, that observation alone is worth bringing to a professional.
The professional skincare checklist we use at Them-ethod was built on exactly this principle: that informed, prepared clients get better outcomes.
— Jess
Clearer skin starts with the right treatment support
Understanding your skin is the first step. Acting on that understanding is where real change happens. At Them-ethod, we work with clinicians and premium skincare brands to support people managing acne, rosacea, pigmentation, and ageing concerns with products that are grounded in clinical evidence.
The PCA Clearskin Acne Treatment Serum is one of the most requested products in our range for people managing active breakouts. It works alongside a structured skincare routine to reduce congestion, calm inflammation, and support clearer skin over time. For those considering a more personalised approach, our virtual skin consultations connect you with top clinicians who can review your self-assessment findings and recommend a targeted treatment plan. Browse the full range at Them-ethod and find the right support for your skin.
FAQ
How often should I check my skin at home?
Monthly self-examinations are the recommended standard. Once you are familiar with your skin, a full head-to-toe check takes 5–10 minutes.
What does the ABCDE rule mean for skin checks?
The ABCDE rule covers Asymmetry, Border, Colour, Diameter (over 6mm), and Evolving changes. Any lesion meeting one or more of these criteria warrants professional review.
When should a skin lesion be seen by a doctor?
A lesion that persists beyond 4–6 weeks without improvement, or changes rapidly in size, shape, or colour, requires prompt professional evaluation.
What is the DLQI and why does it matter?
The Dermatology Life Quality Index (DLQI) is a validated tool that measures how a skin condition affects daily life, including physical comfort, emotional wellbeing, and social activity. NICE recommends it alongside clinical assessment to guide personalised treatment decisions.
Can I assess skin conditions accurately without a dermatologist?
Self-assessment using structured criteria such as ABCDEFGH and the Rule of Three gives you a reliable starting point. Professional tools like dermatoscopy and biopsy are needed for definitive diagnosis of suspicious or persistent lesions.